Venipuncture Equipment
Know your tools. Choosing the right needle, tube, and assembly for each patient is the foundation of a successful, safe draw.
💉 Needles
| Gauge | Lumen Size | Best Use |
|---|---|---|
| 18G | Large | Rapid blood product donation; large-volume draws |
| 21G | Medium | Standard venipuncture — most common in clinical labs and for routine draws |
| 22G | Medium-small | Small or fragile veins; pediatric patients |
| 23G | Small | Very fragile/elderly veins; butterfly preferred |
| 25G | Very small | Neonates, infants; scalp veins |
Needle Types
- Multi-sample needle — Standard venipuncture; threaded onto vacutainer holder; allows multiple tube changes
- Butterfly (winged infusion set) — 21G–25G; flexible tubing; excellent for small/rolling veins, hand veins, and pediatric patients; single tube without detaching typically
- Syringe needle — Attached to syringe for manual aspiration; used when vacuum tubes collapse the vein
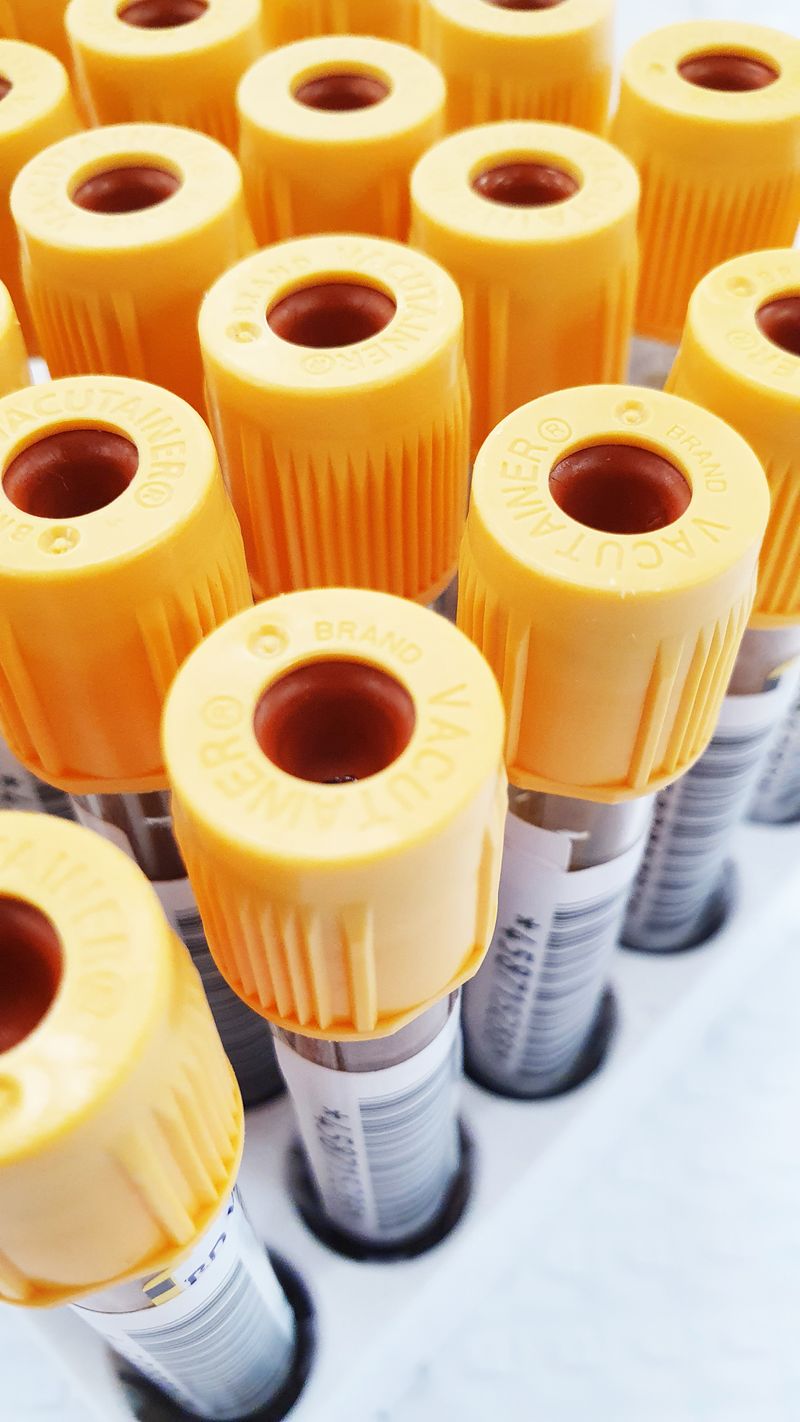
🏺 Vacutainer Tubes Overview
Vacuum collection tubes are color-coded by their stopper, which indicates the additive inside. Always verify the correct tube for each test ordered.
💉 Gauge Selection — Matching Needle to Situation
Needle gauge (G) is an inverse measure — the higher the number, the smaller the diameter. Selecting the correct gauge directly impacts specimen quality and patient comfort:
| Gauge | Color | Use Case | Consideration |
|---|---|---|---|
| 20G | Yellow | Large-volume draws, blood bank, blood donation | Fastest flow; uncomfortable in small veins |
| 21G | Green | Routine venipuncture — the standard | Balanced flow rate and patient comfort for most draws |
| 22G | Black | Smaller veins, elderly, pediatric veins in older children | Slower flow — watch for vacuum collapse in fragile veins; use syringe or butterfly |
| 23G | Blue | Very fragile veins, dorsal hand, pediatric, geriatric | Slow flow; risk of hemolysis if vacuum tubes used with small fragile veins — butterfly recommended |
| 25G | Orange | Very small veins; insulin injections (not standard phlebotomy) | Rarely used for lab draws — risk of RBC damage and hemolysis; only in extreme circumstances |
The hemolysis-gauge relationship: Smaller gauge needles create higher shear stress on red blood cells as they pass through the narrow lumen, especially when vacuum tube pressure is high. This is why drawing through a 23G needle into a large vacuum tube (with high draw pressure) causes hemolysis. The solution: use a syringe draw and transfer gently, or use a butterfly with limited vacuum.
📝 Knowledge Check

The Order of Draw
Order of draw is non-negotiable. It prevents additive carryover between tubes — a contamination that can completely invalidate test results and harm patients.
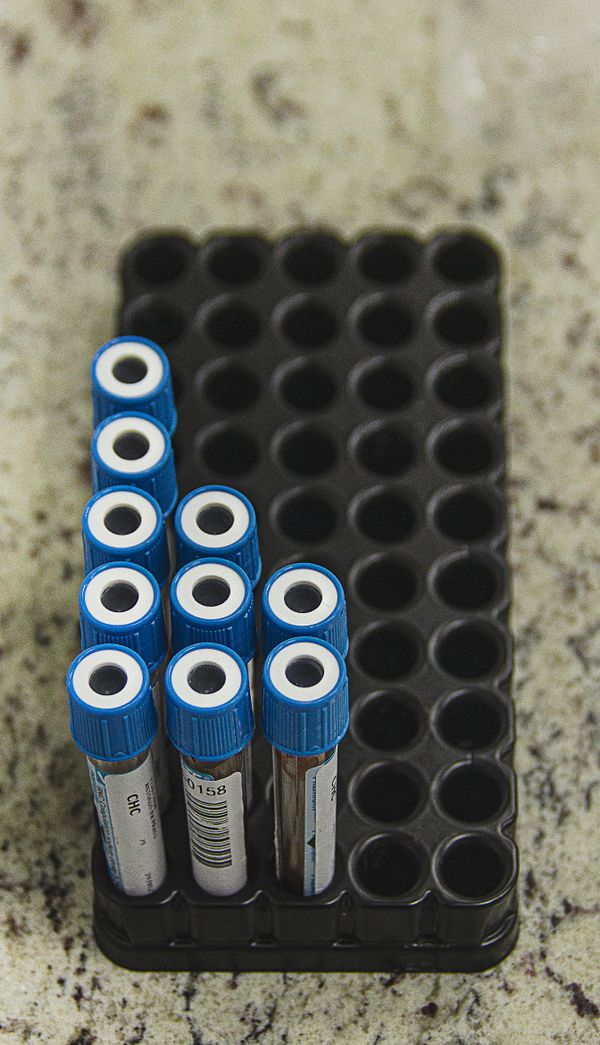
🩸 CLSI-Recommended Order of Draw
The Clinical and Laboratory Standards Institute (CLSI) establishes the standard order. Memorize this sequence — it will be tested on the NHA CPT and ASCP PBT exams.
⚗️ Why Order Matters — Additive Carryover
When blood flows from one tube into the next via the multi-sample needle, microscopic amounts of the previous tube's additive can contaminate the next tube. This is called carryover.
| Carryover Scenario | Effect on Results |
|---|---|
| EDTA (lavender) → Light blue | EDTA chelates calcium → falsely prolonged PT/INR (EDTA is a potent anticoagulant) |
| Heparin (green) → Light blue | Heparin is an anticoagulant → falsely prolonged PT/PTT |
| EDTA (lavender) → Red/SST | Falsely low calcium, other chemistry interferences |
| Sodium citrate (blue) → Red | Citrate chelates calcium → lowers Ca²⁺ results |
| Fluoride (gray) → Any | Inhibits enzymes → falsely low glucose and enzyme activity |
🩸 Fill Volume — The Ratio Rule
Certain tubes require exact fill volumes for accurate results:
- Light blue (citrate): Must fill to exactly the line — the 9:1 blood-to-citrate ratio is required. Under-fill = too much citrate → falsely prolonged clotting times. Overfill = too little citrate → falsely shortened.
- All vacuum tubes: Allow vacuum to draw blood to the fill line — do not overfill or underfill.
- Invert tubes: Gentle inversion required to mix additive — 3–8 times depending on tube type. Never shake vigorously (causes hemolysis).
| Tube Color | Inversions Required | Reason |
|---|---|---|
| Blood culture bottles | 8–10 gentle inversions | Mix blood with SPS preservative |
| Light blue (citrate) | 3–4 | Mix with anticoagulant |
| Red (plain) | 0 (or 5 if clot activator) | Allow clotting to proceed |
| SST (gold) | 5 | Mix clot activator |
| Green (heparin) | 8–10 | Mix heparin thoroughly |
| Lavender (EDTA) | 8–10 | Prevent micro-clots in CBC specimen |
| Gray (fluoride) | 8–10 | Mix glycolytic inhibitor |
🔬 Why Order of Draw is a Patient Safety Issue
Order of draw prevents carryover of tube additives from one tube to the next. When a needle passes through a tube's stopper and into the patient's vein, a tiny amount of the previous tube's additive is carried in the needle's lumen to the next tube. If EDTA (from a purple CBC tube) carries into a chemistry tube, it falsely lowers calcium, magnesium, and other minerals — because EDTA is a chelating agent that binds divalent cations.
CLSI Recommended Order of Draw (ETS/Vacutainer):
- Blood cultures (Yellow SPS — sterile, collected first to minimize contamination)
- Sodium citrate (Light Blue — coagulation tubes; must be filled EXACTLY to line)
- Serum tubes: Plain Red → Gold SST → Tiger-top (clot activator or SST)
- Heparin (Green — plasma chemistry)
- EDTA (Purple/Lavender — CBC, blood bank)
- Fluoride/oxalate (Gray — glucose, lactate)
- ACD (Acid Citrate Dextrose — Pale Yellow; drawn LAST) — used for pregnancy tests
Syringe order: Same concept, but fill tubes from syringe in the same order. Exception: blood culture bottles are filled last from a syringe (to prevent anticoagulant from the syringe from entering the culture medium and killing bacteria).
The coagulation tube rule: The light blue citrate tube is second only because it requires a blood-to-anticoagulant ratio of exactly 9:1. If EDTA contamination from any prior tube enters it, the coagulation results are invalid. The "discard tube" rule applies specifically when using a butterfly (winged) collection set AND the citrate tube is FIRST in the order: draw and discard a non-additive tube first to clear the air out of the butterfly tubing, which would otherwise under-fill the citrate tube and throw off its required 9:1 blood-to-citrate ratio. A discard tube is not needed on a straight-needle draw or when the citrate tube is not first.
📝 Knowledge Check
Antiseptic Skin Preparation
Clean skin = clean specimen. Proper antisepsis prevents site infection AND prevents microorganism contamination of the blood sample — especially critical for blood cultures.
🧴 Standard Antiseptic: 70% Isopropyl Alcohol
Isopropyl alcohol (IPA) 70% is the standard antiseptic for routine venipuncture site preparation.
Proper Technique
- Apply with a swab or prep padSingle-use alcohol swab, applied with moderate pressure to cleanse surface bacteria.
- Scrub back and forth with frictionThe current CLSI standard: cleanse the site using back-and-forth friction strokes over the intended puncture area — the friction is what lifts and removes surface bacteria.
- Allow to air-dry completely30–60 seconds minimum. This is not optional. Wet alcohol: (a) stings the patient, (b) contaminates the specimen, (c) hemolyzes blood cells at contact.
- Do NOT blow on, fan, or wipe dryThis re-contaminates the cleaned area. Just wait. The alcohol evaporates rapidly at room temperature.
- Do NOT touch the site after cleaningIf you must re-palpate (e.g., rolling vein), you must re-cleanse the site completely.
🦠 Blood Culture Antisepsis — Two-Step Protocol
Blood cultures are the most contamination-sensitive specimen. A single skin bacterium entering the bottle produces a false-positive blood culture, potentially causing a patient to receive unnecessary IV antibiotics for weeks.
Step 1: 70% Isopropyl Alcohol
Clean the site with IPA, allow to dry completely (30–60 seconds).
Step 2: Chlorhexidine Gluconate (CHG) or Povidone-Iodine
Apply CHG 2% or povidone-iodine (Betadine) and allow to dry for 60–90 seconds minimum — this is a longer contact time than standard prep. CHG is preferred (longer residual activity).
| Antiseptic | Routine Venipuncture | Blood Culture |
|---|---|---|
| 70% Isopropyl Alcohol | ✅ Yes — 30–60 sec dry | ✅ Step 1 |
| Chlorhexidine 2% (CHG) | For neonates / sensitive skin | ✅ Step 2 — preferred |
| Povidone-iodine (Betadine) | For iodine-compatible patients | ✅ Step 2 — if CHG unavailable |
| Benzalkonium chloride | Rarely used | ❌ Not adequate for blood culture |
🧴 Understanding Antiseptics vs. Disinfectants vs. Sterilants
These three terms are often used interchangeably but have distinct meanings in infection control:
- Antiseptic: Antimicrobial agent applied to LIVING TISSUE (skin) to reduce microorganism burden. Examples: 70% isopropyl alcohol, chlorhexidine gluconate, povidone-iodine.
- Disinfectant: Chemical applied to NON-LIVING surfaces (equipment, counters) to kill pathogens. Not used on skin. Examples: bleach (sodium hypochlorite), quaternary ammonium compounds.
- Sterilant: Agent or process that kills ALL microorganisms including spores — used for surgical instruments. Examples: steam autoclave (heat), ethylene oxide gas, glutaraldehyde.
Why 70% alcohol — not 100%? Pure (100%) isopropyl alcohol evaporates too quickly and doesn't achieve sufficient contact time. The 70% formulation includes water, which slows evaporation, improving bactericidal effectiveness. It also denatures proteins more effectively at 70% concentration.
Chlorhexidine gluconate (CHG) for blood cultures: CHG has residual activity — it continues killing organisms even after it dries. This residual activity makes it superior to iodine for blood culture site preparation. 2% CHG is preferred by most guidelines. Allow 30 seconds of friction + 30 seconds drying minimum. Note: CHG is not recommended for neonates under 2 months (skin absorption risk).
📝 Knowledge Check
The Complete Venipuncture Procedure
This is it — the full procedure, step by step, exactly as you'll perform it in the clinic. Master this sequence until it's muscle memory.
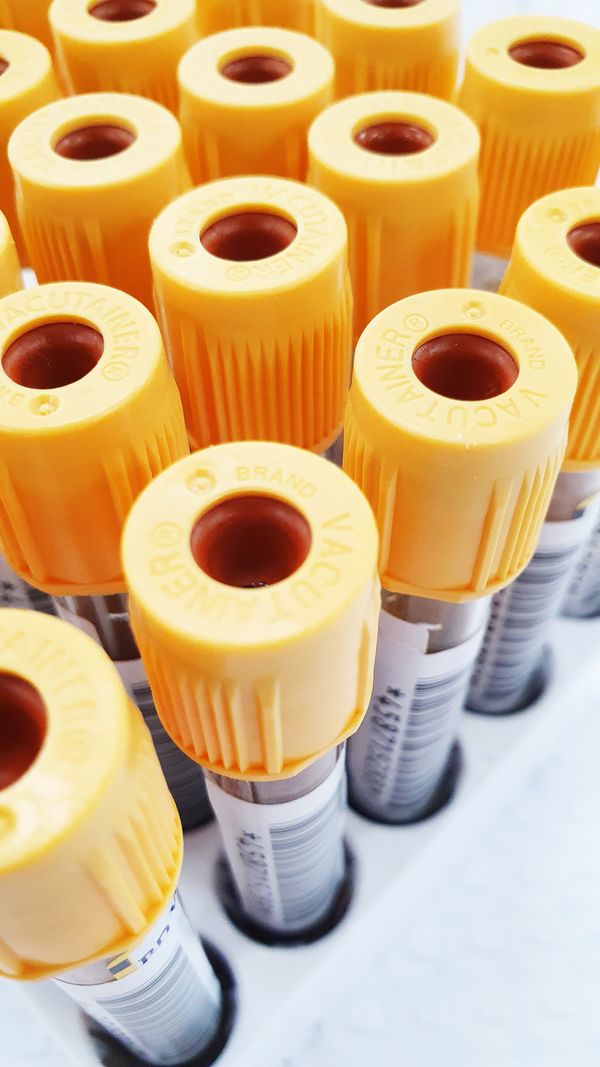
💉 Step-by-Step Venipuncture Protocol
📐 Needle Angle & Insertion Technique
| Vein Type | Angle | Notes |
|---|---|---|
| Superficial, easily visible | 10–15° | Shallow entry; avoid going through the vein |
| Standard antecubital vein | 15–30° | Most common; bevel up. Never exceed 30° for any arm patient |
| Deep vein (obese patient) | up to 30° | More vertical; anchor firmly. Never exceed 30° for any arm patient. In obese patients the cephalic vein is often the most accessible/palpable |
| Hand/dorsal veins | 10° | Very superficial; all hand veins are 10°; use butterfly |
🧠 Procedure Flashcards
Tap to flip
💉 Troubleshooting Common Venipuncture Failures
Even experienced phlebotomists encounter difficult draws. Systematic troubleshooting improves first-attempt success rates:
Scenario 1 — Needle in vein but no blood flow:
- Check: Is the tube vacuum spent? Try a new tube.
- Tube may be positioned at angle — rotate the tube handle slightly
- Needle may have passed THROUGH the vein — slowly withdraw 1–2mm (redirect slightly)
- Bevel may be against the vein wall — rotate the needle 45°
- Tourniquet may have slipped — may need to reposition
Scenario 2 — Blood flows then stops:
- Patient moved arm — reanchor and try not to follow movement
- Vein collapsed (fragile vein, high vacuum) — try releasing tourniquet, allow to refill, use lower-vacuum tube
- Hematoma forming — blood is going into tissue, not tube. Withdraw immediately, apply pressure.
Scenario 3 — Vein rolls away:
- Anchor below the site by pulling skin taut with your non-dominant thumb
- Approach from slightly below the vein (more acute angle) to catch it before it moves
- For very mobile veins: anchor aggressively from below AND above the site
Scenario 4 — Hematoma forming during draw:
- A lump is growing under the skin at or near the insertion site — blood is escaping the vein into tissue
- Remove the tourniquet first, then the needle. Apply firm pressure for at least 5 minutes.
- Document and alert the patient to the hematoma, instruct on monitoring
📝 Knowledge Check
Dermal / Capillary Puncture
Finger sticks and heel sticks produce capillary blood — a mix of arterial, venous, and interstitial fluid. Different specimen, different rules.
💡 When to Use Dermal Puncture
- Infants and neonates (heel stick preferred for <12 months)
- POC (point-of-care) testing: glucose, cholesterol, hemoglobin (glucometer, i-STAT)
- Small children — finger stick preferred over 12 months
- Adults with extreme difficulty finding venous access
- Patients requiring only small volume specimens
- Home blood glucose monitoring
👆 Fingerstick Technique
Site Selection
- Preferred: 3rd (middle) or 4th (ring) finger, non-dominant hand
- Puncture the fleshy pad of the fingertip — slightly to the side of center, not the very tip
- Avoid: thumb (arterial pulse nearby), index finger (most sensitive), pinky (too thin), any finger with calluses, scars, edema, or poor circulation
Depth
- Adults: 1.8–2.0 mm depth lancet
- Children: 1.0–1.5 mm depth lancet — CLSI-recommended pediatric lancet
- Warm the fingerWarm towel or commercial warmer for 3–5 minutes to increase capillary blood flow.
- Clean with 70% IPA and allow to drySame as venipuncture — must be fully dry before puncture.
- Puncture with a single-use safety lancetPress firmly and activate — do not re-use lancets. Activate with confidence; hesitation creates a shallow puncture and tissue squeezing.
- Wipe away the FIRST drop of bloodThe first drop contains excess tissue fluid (interstitial) which can dilute the specimen. Wipe and discard it.
- Collect from free-flowing dropsAllow drops to form and collect without squeezing. Light gentle pressure is okay; MILKING (compressing the finger toward the tip) introduces tissue fluid and is not acceptable.
- Fill capillary tubes or test devicesHold collection device horizontally or slightly downward. Fill blood gas tubes completely without introducing air.
👶 Heel Stick — Neonates & Infants
When It's Used
Heel stick is the required method for infants under 12 months and neonates — their veins are too small and their bones are too close to the finger surface for safe finger puncture.
Site
- Medial or lateral plantar surface of the heel (NOT the posterior heel — calcaneous bone is too close)
- Maximum depth: 2.0 mm in neonates; never exceed this — risk of osteomyelitis (bone infection)
| Comparison | Fingerstick | Heel Stick |
|---|---|---|
| Patient population | >12 months, adults | Neonates, <12 months |
| Site | 3rd/4th finger pad, lateral | Medial/lateral plantar heel |
| Max depth | 1.8–2.0 mm adults | 2.0 mm neonates |
| First drop | Wipe and discard | Wipe and discard |
| Milking allowed? | No — tissue fluid contamination | No — same reason |
👆 Capillary Blood vs. Venous Blood — Key Differences
Capillary blood is a mixture of arterial blood, venous blood, and interstitial fluid — it is NOT identical to venous blood. This has significant implications for test interpretation:
| Analyte | Capillary vs. Venous | Clinical Significance |
|---|---|---|
| Glucose | Capillary 20–70% higher in fed state | POC glucometers are calibrated for capillary blood — not interchangeable with venous plasma glucose without adjustment |
| Hemoglobin | Similar unless patient is in shock | In circulatory compromise, capillary Hgb may be unreliable |
| Potassium | Capillary ≥ venous due to cell damage from squeezing | Do not squeeze fingerstick excessively — always compare to venous K⁺ if unexpected elevation |
| Total protein | Higher in capillary (interstitial fluid dilution is less) | Protein reference ranges are optimized for venous blood |
When capillary is the RIGHT choice:
- POC glucose monitoring (glucometer) — specifically designed for capillary blood
- Neonatal screening (heelstick for PKU, thyroid, etc.) — standard of care
- Blood gas from capillary in neonates (arterialized capillary) — warming heel increases arterial contribution
- Patients with no accessible veins AND only small volumes needed
When capillary is NOT appropriate:
- Blood cultures — contamination risk too high
- Coagulation studies (PT, PTT) — tissue thromboplastin from puncture activates extrinsic pathway
- Blood bank specimens — must be venous
- Large-volume draws
📝 Knowledge Check
Specimen Labeling & Handling
A perfect draw means nothing if the specimen is mislabeled, hemolyzed, or processed incorrectly. The chain of custody ends with you.
🏷️ Required Label Information
Every specimen tube must have a label with the following minimum information:
- Patient's full legal name
- Patient's date of birth and/or MRN
- Date and time of collection
- Phlebotomist's initials or ID
- Tube type and test requested (if not on pre-printed label)
🌡️ Temperature & Transport Requirements
| Test / Tube | Temperature | Transport Notes |
|---|---|---|
| Most chemistry, CBC | Room temperature | Transport within 2 hours of collection |
| Glucose (gray tube) | Room temperature | Stability: 24 hrs with fluoride |
| Coagulation (light blue) | Room temperature | Process within 4 hours; keep capped |
| Blood cultures | Body temp / 35–37°C | Incubator; never refrigerate |
| Ammonia | Ice/cold water | Transport on ice immediately |
| Lactic acid (lactate) | Ice | Transport on ice; process within 15 min |
| Arterial blood gas (ABG) | Ice (if >15 min delay) | Analyze within 15 min or ice |
| Bilirubin | Room temp — PROTECT FROM LIGHT | Wrap in foil; light degrades bilirubin |
| Cold agglutinins | Body temp / 37°C | Keep warm — transport in heated container |
⚠️ Hemolysis — The #1 Specimen Rejection Cause
Hemolysis is rupture of red blood cells, releasing intracellular contents into the serum/plasma. A hemolyzed specimen appears pink to red and is frequently rejected by the laboratory.
Causes of Hemolysis
- Inserting through wet alcohol
- Using too small a needle (excessive shear force) — avoid 25G for large-volume draws
- Excessive vacuum / too rapid filling speed
- Vigorous shaking or mixing of tubes
- Prolonged tourniquet time (>1 minute)
- Drawing from a (veni)puncture site or above an IV line
- Hematoma in the collection site
- Improper transport (extreme temperatures)
Effects on Test Results
- Potassium: Falsely elevated (major intracellular ion released from RBCs)
- LDH: Falsely elevated (abundant in RBCs)
- AST, ALT: Elevated
- Hemoglobin: Falsely elevated (measured optically, RBC pigment interferes)
- Coagulation tests: May be prolonged
🏷️ Chain of Custody — When Documentation Becomes Legal Evidence
Chain of custody (COC) is a documentation and handling protocol that establishes an unbroken record of who collected, handled, and tested a specimen — ensuring it could not have been tampered with or substituted. COC specimens have legal implications: employment drug testing, forensic specimens, paternity testing, DUI blood draws, and legal blood alcohol levels.
COC collection requirements (substantially stricter than routine):
- Patient must provide photo ID — no ID = no collection (or special protocol)
- Patient should not be left unaccompanied to produce a urine specimen
- Collector must observe/witness urine temperature immediately after collection (90–100°F = body temperature; outside range = specimen may be adulterated)
- Specimen is sealed in tamper-evident packaging in the patient's presence
- Patient must initial or sign the seal
- Collector documents every transfer of custody with time, date, name, and reason
- Any break in the chain can render the specimen legally inadmissible
Blood alcohol (legal): Not drawn with isopropyl alcohol prep — this would contaminate the specimen with alcohol. Instead, use povidone-iodine (Betadine) or soap and water to clean the site. Document the prep solution used — defense attorneys will ask.
Representative Chain of Custody (COC) form:
| Donor name & ID | __________________________ |
| Collector name | __________________________ |
| Date / time of collection | __________________________ |
| Specimen ID / seal number | __________________________ |
| Test requested | __________________________ |
| Reason for test | __________________________ |
| Temperature check (90–100°F) | ☐ In range ☐ Out of range: ______ |
| Chain-of-Custody Transfer Log | Name / Signature | Date & Time |
|---|---|---|
| Released by | ____________________ | ____________ |
| Received by | ____________________ | ____________ |
| Released by | ____________________ | ____________ |
| Received by | ____________________ | ____________ |
Representative Chain of Custody form (placeholder) — actual COC forms vary by laboratory and jurisdiction.
📝 Knowledge Check
Complications & Troubleshooting
Not every draw goes perfectly. Knowing what to do when things go wrong — and how to prevent common problems — defines professional competence.
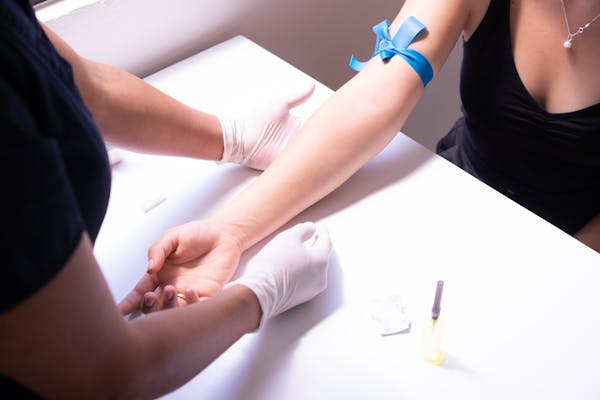
🩸 No Blood Flow — Troubleshooting Guide
| Problem | Likely Cause | Correction |
|---|---|---|
| No flash, no flow | Needle not in vein (short of or past it) | Slowly advance or slightly withdraw needle — do not probe laterally |
| Tube fills then stops | Vein collapsed from excess vacuum | Switch to butterfly or syringe; reduce vacuum with smaller tube |
| Slow trickle of blood | Tourniquet too tight (arterial occlusion) or vein is small | Release/reapply tourniquet; use 23G butterfly with smaller tubes |
| Blood goes into tissue | Needle through the vein wall (hematoma) | Remove needle immediately, apply pressure 5+ minutes |
| Tube fills with air only | Vacuum lost or needle not seated in vein | Replace tube; reconfirm needle position |
🩹 Hematoma
A hematoma is a localized collection of blood in the tissue surrounding the puncture site — the most common complication of venipuncture.
Causes
- Needle penetrating through both walls of the vein
- Insufficient pressure after needle removal
- Patient bending arm (raises venous pressure) instead of keeping it straight
- Needle movement during collection
- Multiple punctures in the same area
- Anticoagulant therapy
Management
- Remove needle immediately if hematoma develops during collection
- Apply firm direct pressure for 5+ minutes (longer for anticoagulated patients)
- Apply ice pack to reduce swelling
- Document the event in the patient's chart
- Never use the hematoma site for repeat collection
⚡ Other Complications
| Complication | Signs | Action |
|---|---|---|
| Petechiae | Small red dots around site | No need to stop the draw or release the tourniquet; note it and continue. May indicate a platelet/capillary (coagulation) issue such as thrombocytopenia |
| Nerve injury | Sharp/electric pain shooting down arm during insertion | Remove needle immediately; document; report to supervisor |
| Arterial puncture | Bright red, pulsating blood; high pressure | Remove immediately; apply firm pressure 10–15 min; monitor; report |
| Allergic reaction (latex) | Hives, itching at contact; anaphylaxis in severe cases | Remove tourniquet; call for help; follow facility emergency protocol |
| Syncope (fainting) | Pallor, diaphoresis, loss of consciousness | Remove needle; lower patient; cool compress; call for help |
| Excessive bleeding | Soaking through bandage | Reapply pressure; notify nursing; do not leave patient |
⚡ Nerve Injury During Venipuncture — Prevention and Response
Nerve injury is one of the most serious complications of venipuncture. It most commonly occurs when drawing from the basilic vein (medial side), which is in close proximity to the medial cutaneous nerve of the forearm and, in some patients, the median nerve.
Signs of nerve contact during insertion:
- Sharp, shooting pain that travels down the arm or into the fingers (not just at the puncture site)
- Patient suddenly pulls arm away or cries out — beyond normal draw discomfort
- Electric sensation or numbness radiating from the site
Immediate response to suspected nerve contact:
- Remove the needle immediately — do not try to redirect
- Apply pressure to the site
- Acknowledge: "I may have touched a nerve — I'm very sorry. The sensation should resolve."
- Document in detail: exact site, sensation described, your response
- Report to supervisor and complete an incident report
- Most nerve contacts resolve within minutes to hours. Persistent numbness, weakness, or pain lasting more than 24 hours should be evaluated by a physician.
Prevention:
- Follow the vein-selection order of preference: median cubital (1st choice — lowest nerve proximity) → cephalic (2nd choice) → dorsal (hand/metacarpal) veins → and the basilic vein LAST (least preferred, due to its proximity to the median cutaneous nerve and brachial artery)
- The basilic is the LAST CHOICE — dorsal (hand) veins come before it. Never use the basilic vein as a first attempt
- Do not redirect the needle laterally while inside the vein — withdraw and re-insert
- Avoid "probing" — deep, multi-directional needle movements increase nerve contact risk dramatically
📝 Knowledge Check
Clinical Scenarios: Full Draw
Apply everything you've learned. These scenarios test your full procedure knowledge — from patient ID through specimen transport. Week 3 clinicals start soon.
🏥 Integration Scenarios
Scenario 1: Wrong Order Caught
You are collecting a CBC (lavender), BMP (green), and PT/INR (light blue) on the same patient. You accidentally drew the lavender tube first. The light blue tube is in your hand, ready to insert next.
Scenario 2: Blood Culture Collection
A physician orders blood cultures (2 sets) × 2 sites plus a CBC and BMP on a febrile 58-year-old patient. How do you sequence and approach this collection?
Scenario 3: The Specimen Rejected
The lab calls to say they're rejecting a light blue tube you sent 20 minutes ago because it is hemolyzed AND underfilled. The patient is a difficult draw, now with a bandage on both arms from your attempts. What do you do?
Scenario 4: Labeling Error Discovered
You collected 4 tubes from Patient A in Room 201. After leaving the room, at the nursing station, you realize you applied Patient B's labels (Room 203) on the tubes. Nobody else knows yet.
Module 4 Mastery Quiz
Test your understanding with 20 questions on the topics covered in this module.